
Wholemeal Bread (using 65℃ 湯種法)

It's been a while since I made some bread. It's not really one of the things I prefer to bake, for I don't have a machine to help knead the dough. It's tiring to knead by hand (yes it is!).... but I thought bread-making can be therapeutic for the soul too - imagine going through the motion of pushing out the dough and folding it in again. This may sound monotonous, but I guess routine actions do have a hypnotizing effect on people that is soothing for the soul. Plus it's a good work-out for the arms too :)
I have been reading online about a highly raved method in bread making - the 65℃ 湯種法. This method was introduced by Yvonne Chen, in her book "65℃ 湯種面包". Before making the bread, she would prepare a batch of cooked dough, to be added in to the bread dough. This concept reminds me of Italian bread-making, where a Biga is prepared beforehand, and added to give bread a lighter texture. In the 湯種 method, a small batch of dough is cooked to 65℃, and cooled to room temperature before using. Yvonne Chen explained that the starch molecule are expanded through the process of cooking. When added to the rest of the ingredients in making bread, it is able to absorb more water, creating a bread with softer texture, and delays the bread from "aging" i.e. turning dry.
A common problem of home-made bread (as it contains no preservatives) is that it turns dry the very next day. I just have to give this method a try to see if I can achieve a softer bread.
Preparing the 湯種
50g bread flour
250g water
 |
| the 湯種 - watery looking |
- Whisk the ingredients together till combined and lump-free, then heat this mixture over medium-low gentle heat in a saucepan--keep stirring continuously as you cook it.
- As you stir the mixture, it will thicken up. If you've a thermometer, it will be ready when the temperature reaches 65℃. If you don't, like in my case, as you stir, you will notice a stage where "traces of line" appear with every stir that you make with a hand whisk. Stop immediately , and do not over-cook. The mixture would still appear watery.
- Remove from heat, and pour the mixture into a bowl. Quickly cover with clingwrap -- be sure that the wrap touches the surface of the tangzhong to prevent a "skin" from developing.
- Let the tangzhong cool to room temperature before using. If not using immediately, you can keep it in the fridge for up to 3 days. However, if you notice the tangzhong turning grey, this means it has turned bad.
Making the Bread
(makes 2 loaves, I use the 400g pullman loaf tin, bought from Phoon Huat)
(Pei-Lin from Dodol & Mochi has a very detailed explanation - recipe is also taken from her website, as she has taken efforts to translate Yvonne Chen's method into English)
Ingredients:
(A)
280g bread flour
200g wholemeal flour
10g instant dried yeast
50g sugar
7g salt
(B)
60g egg, at room temperature and slightly beaten
140g milk, at room temperature
120g tangzhong, at room temperature
50g unsalted butter, slightly softened at room temperature
280g bread flour
200g wholemeal flour
10g instant dried yeast
50g sugar
7g salt
(B)
60g egg, at room temperature and slightly beaten
140g milk, at room temperature
120g tangzhong, at room temperature
50g unsalted butter, slightly softened at room temperature
- Combine (A) together and make a well in the center, then whisk together (B); pour the wet mixture into the dry ingredients and mix till a dough has formed and pulls away from the sides of the mixing bowl.
- Turn the dough out onto a surface and knead till gluten has developed, then knead in the butter till incorporated; further knead the dough till it's elastic and has reached the windowpane stage--i.e. a thin "membrane" can be formed by slowly, gently pulling the dough out towards opposite directions. It might take longer for the stickier wholemeal bread dough to reach this stage compared to plain white bread dough. But, DON'T SKIP this step!
- Round the dough up and place it into a greased bowl, cover and let it proof till it's doubled in size. To know whether it's doubled in size, dip your finger in some bread or plain flour and gently, slowly poke into the dough--of course, don't puncture it! If an indentation remains at where you poked your finger in, this means proofing is sufficient; otherwise, if that spot bounces back, let it proof further till the dough is doubled in size.
- On a lightly floured working surface, deflate and divide the dough into four equal portions, with each weighing 220g (approximately,) then round up and cover them to let rest for 15 minutes.
- To each of the portion of the dough, flatten it up and roll out into a rough oval-olive or rectangular shape with a lightly floured rolling pin. Next, roll it up tightly from the shorter ends the Swiss roll-style; pinch ends to seal the dough tightly. *It might be slightly challenging to shape wholemeal bread dough. During the entire process, lightly dust your hands with flour, if and as necessary.
- Arrange rolled-up dough in a greased Pullman loaf tin starting from the center; repeat the same with the remaining portions of the dough. Arrange the loaf tin with those rolled-up portions of the dough till filled up--leaving some room in between each for expansion later on.
- Cover with a piece of cling wrap and let the dough proof till it's reached 80% of the capacity of the loaf tin.
- Bake at 180℃ for 30 minutes or till the bread is golden brown and cooked through.
- Remove from the oven and immediately; unmold the bread onto wire rack to let it cool completely. Slice to serve or store airtight once it's thoroughly cooled.
 |
| mixing the ingredients |
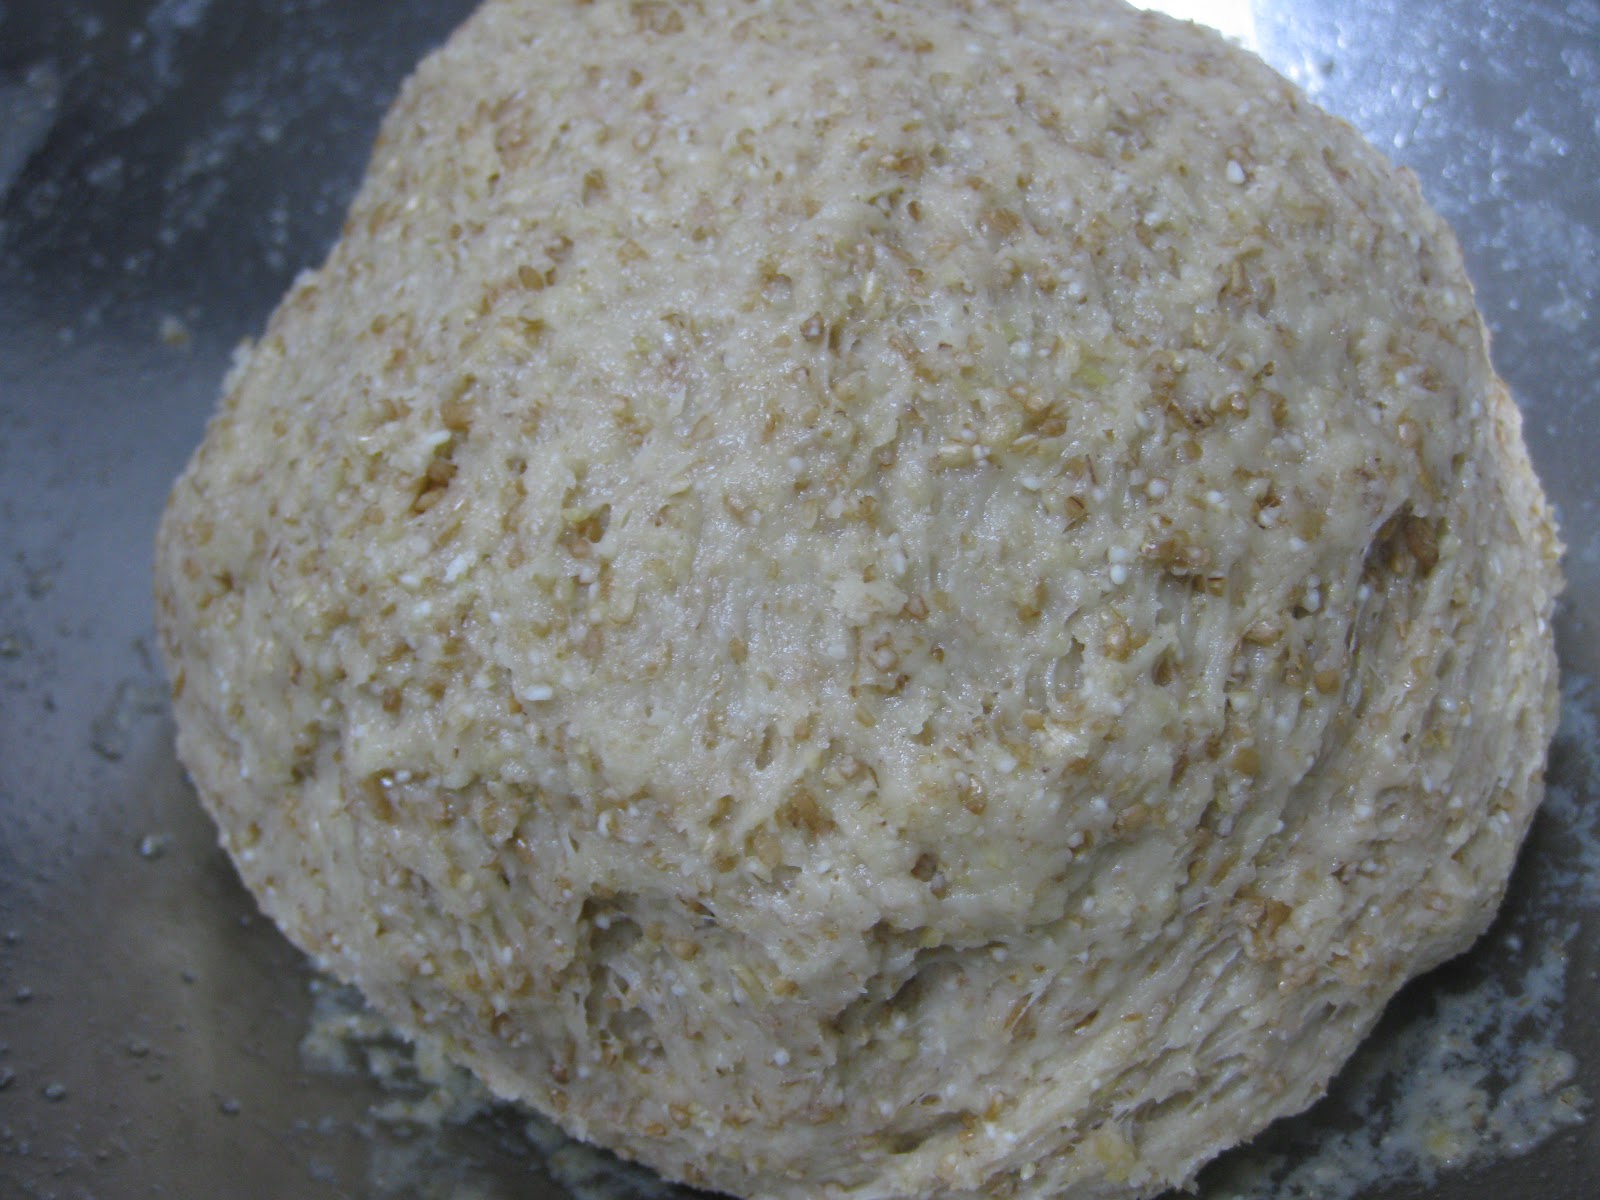 |
| 1st proof |
 | |
| a great way to divide up the dough |
 | |
| 2nd proof |
 |
| bread is ready! and look who's here... curious little bear |
 |
| it didn't rise tall |
 |
| but thankfully, it's still soft |
- As you can see, the bread didn't rise very high (may got to do with my kneading skills; honestly speaking, I've never managed to reach the window-pane stage kneading by hand; i'm not tempted to get a bread-machine, as I don't have space in my kitchen for one)
- Bread tastes a bit dense, but am able to maintain it's softness. It's the 3rd day now, and still tastes great! I also love the flavour of whole-meal, coupled with a yeasty-smell. I'm tempted to try again :)


0 comments