
A Bread-Making Experiment: Comparing the Tangzhong and 17 Hour Pre-Fermentation Method
I've always been in search for a method that can yield soft home-made bread. Not only must it taste good, it should also stay stay moist for a few days!!
Of course, I don't expect it to stay soft for 1 weeks... but I do like my bread to stay soft for 2-3 days (so that I have enough time to finish up the bread) Hee... don't think I'm expecting too much right?
And I finally found the answer through the following 2 methods - tangzhong and the use of a 17 hour pre-fermented dough. Both are commonly used by home-bakers in Asia, because it can yield a soft and moist bread. No bread improvers are used in both methods... and it's just healthy, healthy and more healthy! Alright... I got a bit carried away. But what I'm trying to say is when you use these methods, you wouldn't have all those chemical used by commercial bakery to prolong the bread's shelf life.
You may be wondering what is its secret then. Its secret lies in the preparation of a pre-dough, and the controlling of temperature. The tangzhong method requires a water-roux made at 65 degree celsius, while the 17 hour pre-fermented dough is left to ferment for 17 hours, at a very low temperature in the fridge. You can read more from here and here.
Since there is a coffee bread recipe for both methods, I decided to give both a try, and do a little comparison.
17 hour pre-fermentation method
 |
| window-pane stage? |
 |
| the batter is real shiny! |
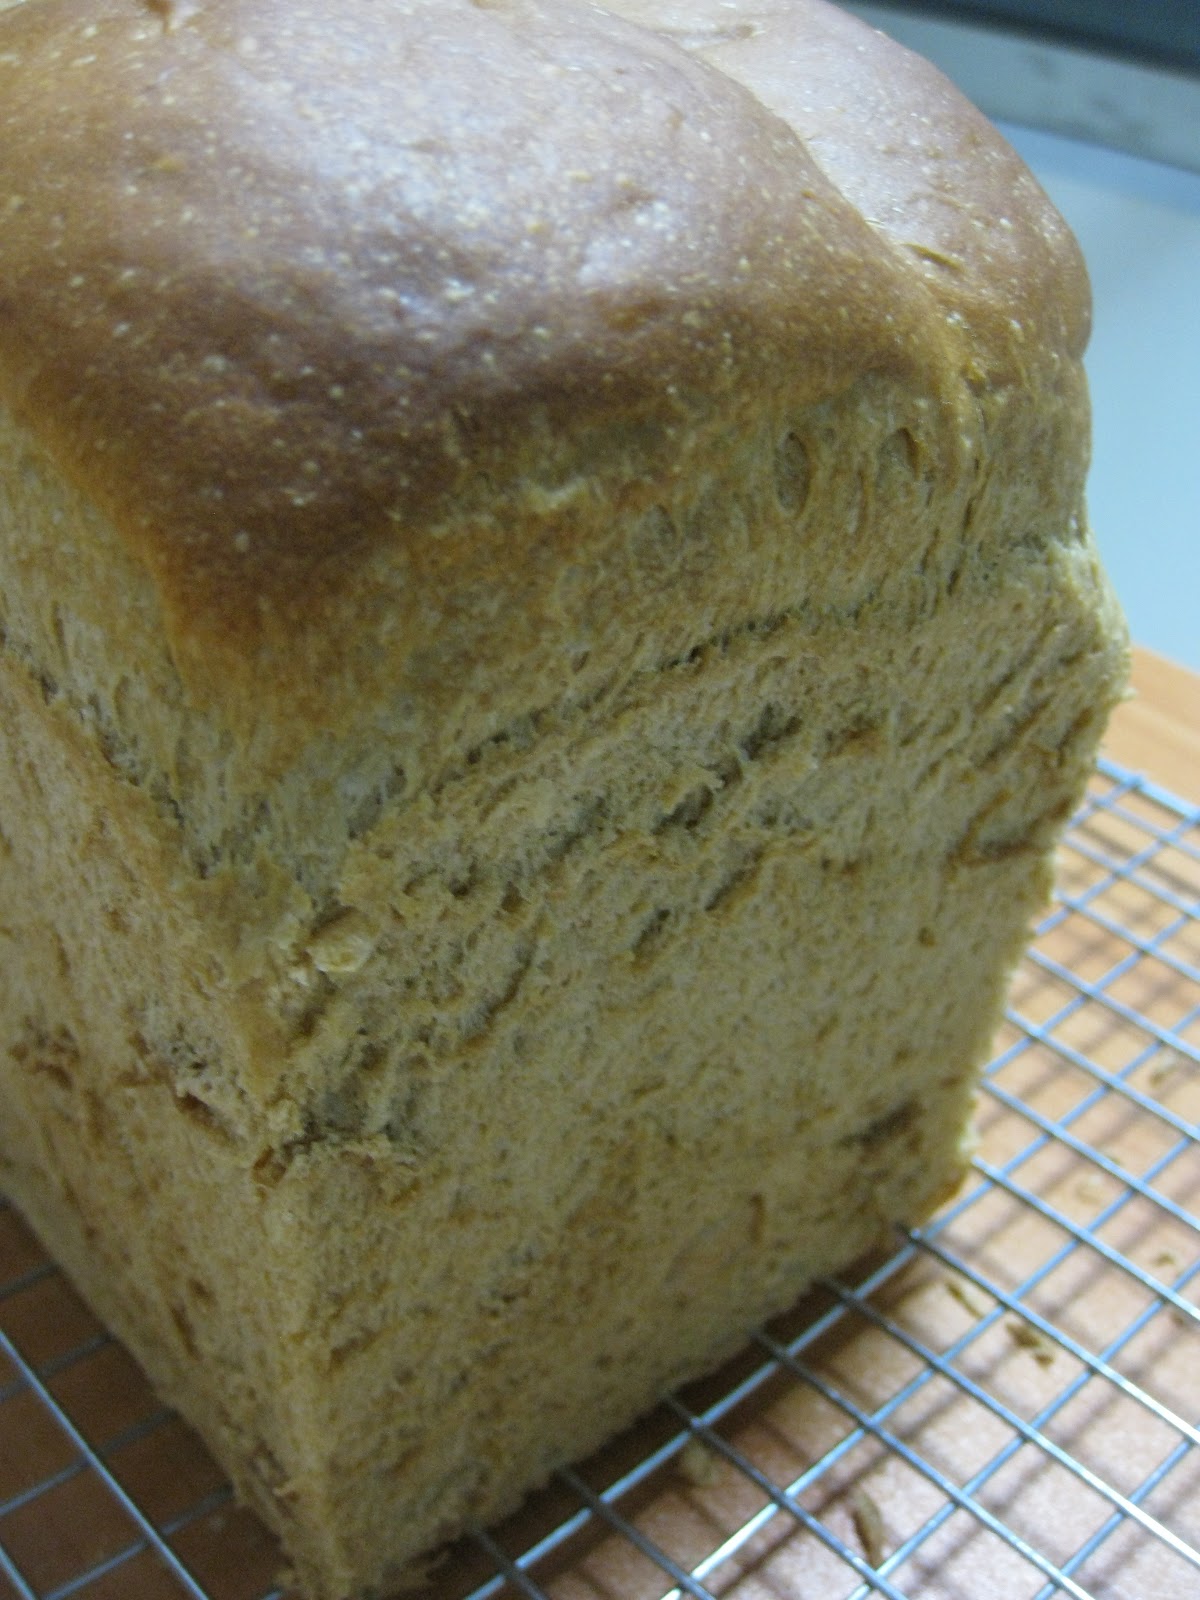 |
| rose high and tall |
 |
| beautifully baked :) |
Pre-ferment dough
234g bread flour
134g water
6g fresh yeast*
3g sea salt
6g skim milk powder
* If you are using instant yeast, author recommended cutting it down to 1/3 of the quantity listed. Therefore, I only used 2g of instant yeast
Mix all the ingredients above together, and knead until soft. Cover the dough in cling wrap, and refrigerate to let it prove for 17 hours. Do use a bigger container to allow space for the dough to expand.
Dough
100g bread flour
6g espresso / instant coffee powder
3g sea salt
33g sugar
27g honey
27g milk
40g egg
3g fresh yeast (i wanted to use 1g of instant yeast; accidentally added 2g and bread was still ok)
33g unsalted butter
Method
- Mix all ingredients for dough together, except butter. Add in pre-ferment dough piece by piece.
- Knead after each addition till soft and smooth. Add in butter, and knead until window-pane stage.
- Put dough in a bowl. Cover with cling wrap and let proof for 25-30 mins. *As majority of the dough has been proofed once under low temperature, the proofing time is greatly reduced.
- Divide the dough into 3 equal portions. Flatten each portion with your hands to drive the air out. Shape into rounds/ square. Cover with cling wrap and let it rest for 20 mins.
- Flatten each dough to drive out the air. Roll the dough up, and put into bread tin. Cover with cling wrap, and let it proof for 40-45 min or until the dough reaches 80% of the tin. Bake in a pre-heated oven at 170 to 180 degree celsius for 30-35 mins.
My Thoughts on 17 hour Pre-Fermentation Method:
- Thumbs up
* fast proofing time
* yields a high loaf
* bread still tastes moist on 3rd day
- Thumbs down
* time taken to incorporate the pre-fermented dough into the fresh dough
(even with the use of a machine, each piece took a while to be incorporated, and the whole process took me approx 30 mins; this does not include time taken for butter to be incorporated and dough to reach the window-pane stage). It's definitely not something you want to knead by hand!
* printing errors found on the recipe book
(one have to be very careful when reading the recipes; I found at least 2 printing errors in the book, thus it's better to double check the english translation with the chinese one)
Tangzhong
 |
| this I know - definitely the window-pane stage! |
 |
| brown sugar and cinnamon topping for the bread |
 |
| quite a small loaf |
 |
| loves the topping! |
 |
| texture of the bread |
Recipe: (makes 1 small loaf; I would double the quantity next time)
Ingredients
(A) 190g bread flour
44g caster sugar
2g salt
4g instant yeast
(B) 20g egg
50g milk
12g instant coffee powder
60g tangzhong
(C) 20g unsalted butter
(D) toppings: 1tbsp brown sugar, 1/4 tsp cinnamon powder
(optional; it's my little twist to the bread)
Method
- Combine (A) together and make a well in the center. Add in (B), and mix till a dough forms.
- If kneading by machine: Turn up the speed of the machine, and let it knead till gluten has developed. Add in the butter, and continue to let the machine work the dough till it reaches the windowpane stage.
- If kneading by hand: Turn the dough out onto a floured surface and knead till gluten has developed. Then knead in the butter till incorporated; further knead the dough till it's elastic and has reached the windowpane stage.
- Round the dough up and place it into a greased bowl. Cover and let it proof till it's doubled in size (approx 40 mins).
- On a lightly floured working surface, deflate and divide the dough into three equal portions. Round up, and cover them to let rest for 10 minutes.
- Shaping the dough: Flatten each of the dough (remember to punch out the air!) and roll out into an oval / rectangular shape with a lightly floured rolling pin. Roll up again, like a swiss roll. Place into the bread tin for final proof. *The author uses a rectangle aluminium foil pan. She divided the dough into 12 pieces, proofing them as round shapes (very cute!)
- Once the bread has doubled in size, add the toppings. Bake at 180℃ for 30 minutes or till the bread is golden brown and cooked through.
- Remove from the oven and turn it out to cool on a wire rack. Unmold the bread onto wire rack to let it cool completely. Slice to serve, or store airtight once it's thoroughly cooled.
My Thoughts on Tangzhong :
- Thumbs up
* tangzhong is easy to prepare
* coffee flavor for this recipe is stronger (goes well with a spread of butter!)
* yields a soft bread
- Thumbs down
* bread is still moist on 2nd day, but from 3rd day onwards, it gets drier
Above are my experiences using both types of methods. Each has its strengths, and both yield breads with slightly different texture (but still nice!). I will definitely be using them to churn out more home-made bread.
Here's ending off with my little creation, made using the coffee bread :) This cute sandwich helped brighten my day. Hope it does for you too!
 |
| Domokun Sandwich |


5 comments
absolutely love this post!! i've actually done a similar experiment before, but didn't bother noting it down in such great details. I've made up a new method for myself which combines the two methods you tried out above and I find that it works for me very well, especially if I have lots of time - I do a tangzhong, then put it in the main dough, and after the 1st proof, I let the bread sleep in the fridge overnight before proofing it again. It does give soft bread, but I doubt it lasts beyond the 3rd or 4th day as well.
ReplyDeletei hv yet to try on the 17hr bread but would like to make it very soon, have been seeing it on the blogsphere so much! Can i know how long you took to beat till window pane stage?
ReplyDeleteJanine: haha..great minds think alike.. i tried that before, and that to me combines the essence of both methods :)
ReplyDeleteLena: yes, do give it a try! You'll be amazed with the results. Hopefully, you have a machine to help with kneading. It took me abt 50mins to reach the windowpane stage, using my KA mixer at speed 4. Timing will vary depending on the speed of the mixer you're using. Look forward to your sharing, if you've a chance to try this out.
Oh, 50 minutes, yeah, mine was about that too, with 30 minutes with the lump by lump! LOL.
ReplyDeleteBut then hoh, I think you might have mixed up the title of the bread methods, the Tangzhong one had a 17hr title :p
Wendy: opps.. thanks for pointing this out to me! yup i do have mixed feelings about the 17hours method too.. haha but I've learnt a few tips from your blog =) will be smarter next time!
ReplyDelete