It's 2am in the morning... Thoughts are running, and there's this urge to write!

It's a good sign, and this probably came from the encouragements I've been receiving from Lena and Bakertan. I realized my priority has shifted since I went back to work. Less time to bake, and the urge to write has greatly decreased too...

Not today though. Thanks to my blogger friends! They made me realize this is a part of me I want to keep. It is also a space I can interact with others, and to grow in my baking skills.

I was glad when my sister suggested baking cookies together. This is the result of our combined efforts - Green Tea Cookies.


The cute gingerbread man is a gift by my sister. She made it herself.

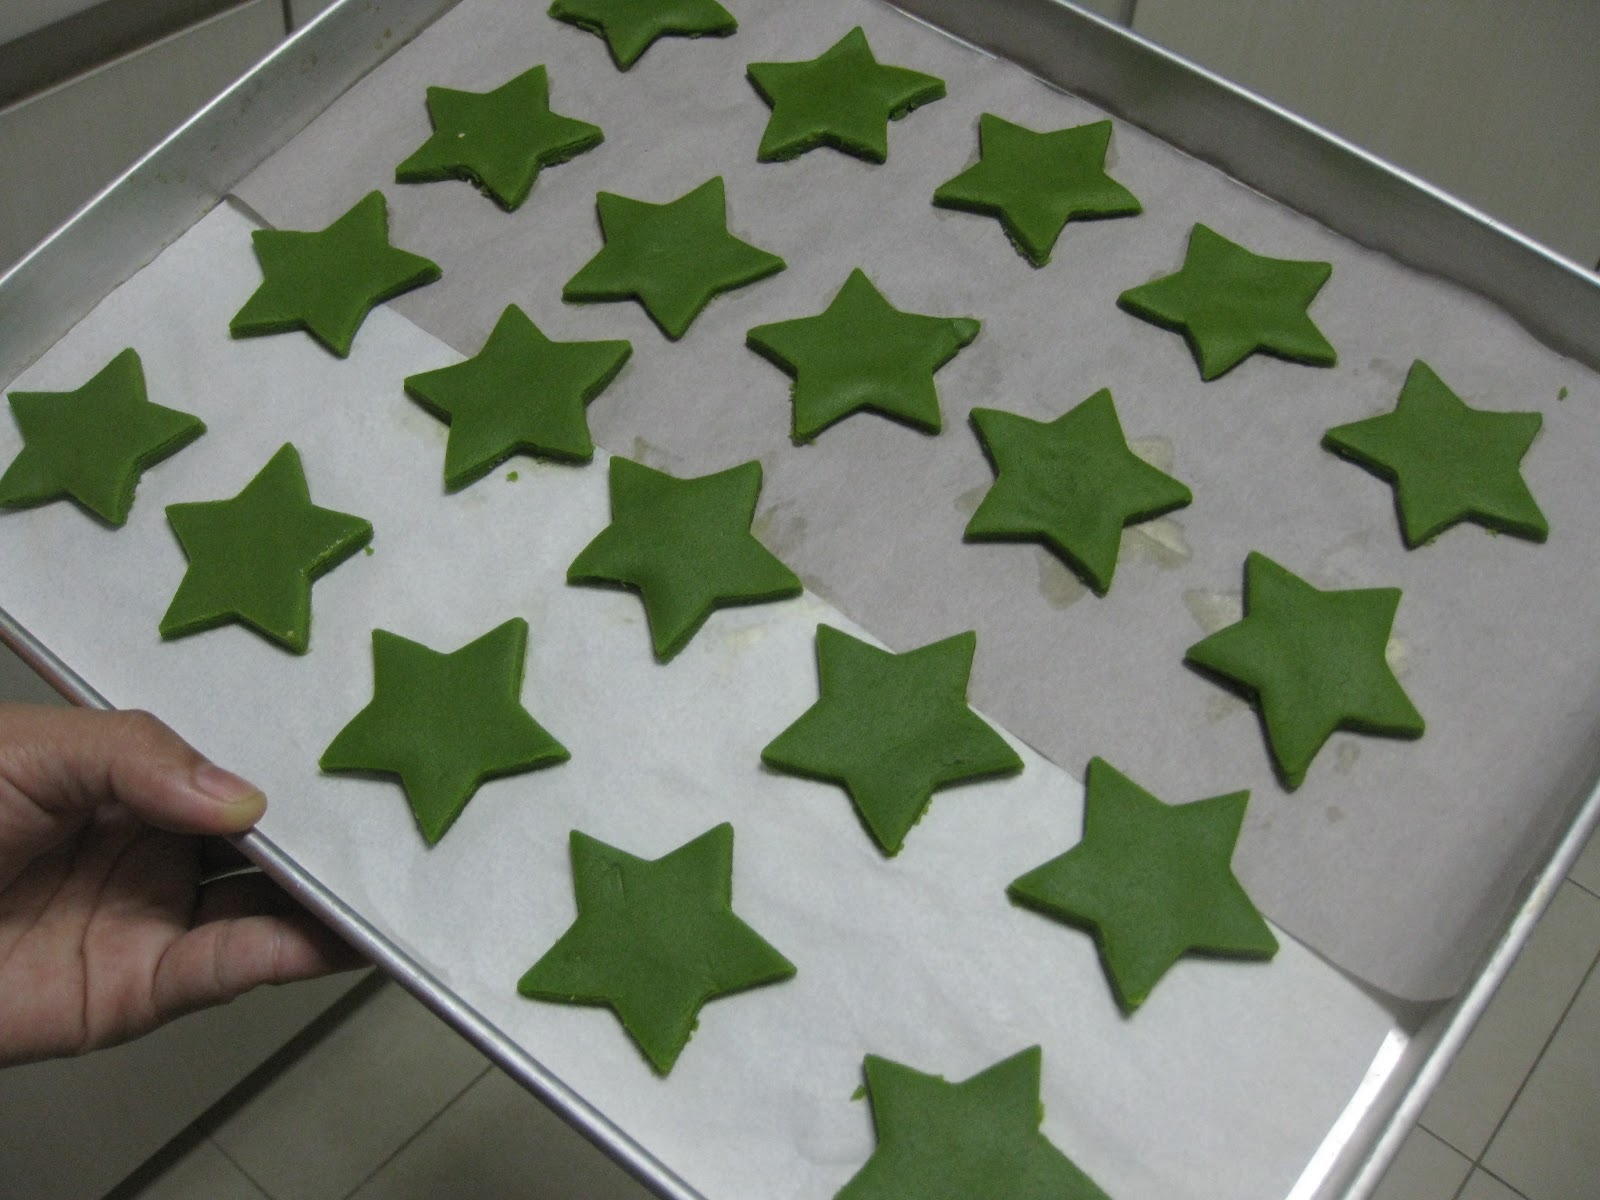
Before - dark green in color


After - brownish green in color

As for the cookies, my first thought was that it's not sweet enough.  But as I eat it again the second day, I grew to like it (a lot). The flavour of the green tea comes out well, and is good on its own / with tea.

Recipe:  (adapted from Honey Bee Sweet)


Ingredients
240g plain flour
10g green tea powder
150g unsalted butter, cold and cut into small pieces
1/4 tsp salt
100g icing sugar (can increase if you like it sweeter)
1 large egg yolk

Method
  • Sift flour, green tea powder and icing sugar into a big bowl. Add in salt. 
  • Add in the cold butter. Using your fingertips, knead it in till it resembles bread crumbs. 
  • Add in the egg yolk, and knead till well-combined. 
  • Divide the dough into half. Wrap each portion with clingwrap, and chill in the fridge for 30 mins before rolling out.
  • Lightly flour the work surface. Take out 1 portion of the dough, and roll out till 1/4 inch thick. Cut into shapes using star cutter. The remaining dough are put back into the fridge, and the same steps are repeated with the second dough portion. * To get dough to chill faster, I put it into the freezer (10 - 15mins is all it takes for the dough to firm up)

  • Arrange cookies on baking paper, and chill in fridge for 20 mins. Preheat oven to 175C.
  • Bake the cookies for 13-15 mins till the edge are lightly browned.

Am submitting this for Aspiring Bakers #14: Creative Christmas Bakes (December 2011) by Hankerie.
I'm back! Yes... back to blogging! I finally got myself to sit down and write today.

It's been a hectic month since I started working again. Though it's only a part-time stint... it still drains me of energy. With the remaining time I have after work, it's spent chilling in front of the TV. To be honest, I haven't been baking much. I've also taken up the Wilton cake decorating course... and what little time I have now is spent preparing for my lessons.

My dear actually suffers from "withdrawal syndrome". He told me he misses my cakes. He dislikes my buttercream and fondant, as he doesn't get to eat home-baked cakes anymore.

Nevertheless, it's always been my dream to take my cake decorating one notch up... and it's now coming true! At times, I (secretly) feel like giving up... but as my instructor always put it "Practice makes perfect!" Guess I have to continue being patient, and do more (and more) =P


my favourite - flowers!

practising my shell borders

ta da.. combining some of the techniques I've learnt

cake for final project

As you can see, my skills are very amateur. I will have to persevere on to do more! Anyway, am still exploring if I like buttercream or fondant more.  Will share more of my thoughts after I put together my first fondant cake this Saturday =)
I've a new member in my home.... and she's so cute I'm always staring at her with fascination. Her name is Sugar, a stray cat that we picked up on the streets.

there she is... taking her nap =)

I didn't think I would ever agree to adopting a cat. I was afraid of the commitment, and the lifestyle changes I have to made (such as closing the windows, regular cleaning of the house)... but that was until we found her. Now that I got to know her, Sugar is really very sweet and gentle. When she plays, she would try to catch your hand and pretend to bite it, but never really exerting any force.

I am so occupied with her, and visits from friends (hosting and cooking) that I was so tired to write.


Still I found time to bake, and to made a chiffon cake. I love chiffon cakes! Though it may appear simple and plain, lots of techniques are involved to make a good chiffon cake. Besides... it's also a healthy and less sinful treat for self :)

I made two - kept one for self, and frosted the other one with azuki beans whipped cream.


As you can see, I always had difficulty icing the cake, especially when whipped cream is used =(

But whipped cream wins thumbs up for flavor, and what the cake lacks in appearance, I hope it can be made up in taste. Yes! It does taste very good! I was licking every bit of my fingers and the spatula =P

Recipe: (from Okashi by Keiko Ishida)

Soy Bean Chiffon
50g cake flour
5 egg yolks
20g brown sugar
60g water
60g canola oil
50g soy bean powder (kinako)

90g caster sugar
10g cornflour
5 egg whites

Method
In a large bowl, combine the egg yolks and brown sugar together. Beat well. Add in water and canola oil, and beat till well combined. Add in flour and soy bean powder and mix till the batter becomes sticky.

Using another bowl, beat the egg whites using a mixer. Add in the sugar and cornflour slowly when the mixture starts to foam. Continue beating till stiff peaks form,

Fold the egg whites into the egg yolks mixture. Pour batter into a 8" chiffon pan, and bake in the oven at 160 degree celsius for 40-50 mins.

Red Bean Cream
200g whipping cream (35% fat)
15g caster sugar
125g red bean paste

Method
Combine ingredients in a clean and dry bowl. Using an electric mixer, whip cream at medium speed until stiff peaks form.


I actually overbeat the whipped cream, and it became butter >_<


Thankfully, it was alright during the second attempt =)

Overall, it tastes good and unique, with a Japanese twist. I like!
I feel very blessed... that I can indulge in my hobby for now. Though I'm not sure how long this can last, or where the journey will lead me to, this is a special time in my life.

With the time to explore and innovate, I managed to come up with this.


I know it doesn't look fantastic... but it's still my creation, and I'm proud of it  :)

Actually, I didn't plan to make this cake at all. M called 2 days before the Halloween Party, and said he wants to buy a cake to celebrate another friend's birthday. My husband immediately asked if I could make one. Of course I can! I wouldn't want to miss this chance to brush up on my baking and decorating skills.

But I got really nervous after that. I'm not very good at making those layered cream cakes, and after spending time to conceptualize this cake, my husband broke a bad news to me - that the birthday man prefers a strawberry cake. I almost couldn't take the last min changes... The party is only next day!

That however did pushes me to improve on my original design. Instead of a plain pumpkin cheesecake, I did a spider-web design, and a chocolate spider.

pumkin cheesecake - phew no cracks :)

the complete design

luckily, the birthday man likes it!

Pumpkin Cheesecake (taken from Okashi, sweet treats made with love by Keiko Ishida) - fits a 7 inch cake pan

Ingredients
30g walnuts
70g wheat crackers
40g unsalted butter
250g japanese pumpkin (skinned and seeded)
90g brown sugar
220g cream cheese
1/2 tsp ground cinnamon
1/2 tsp vanilla extract
50g whipping cream (35% fat)
2 eggs
1 egg yolk

Method
  • Without pre-heating oven, toast walnuts at 150 degree celsius for 20mins. Chop walnuts into small pieces. Set aside.
  • Increase oven heat to 170 degree celsius. Prepare a cake pan with removable base. Grease lightly with softened butter.
  • Using a food processor, pulse the wheat crackers and toasted walnuts into fine crumbs. *For me, I put the biscuits into a ziploc bag, and crush into fine crumbs using a rolling pin. Add melted butter and mix well. Press down the mixture into the cake pan, and spread evenly. Place in a refrigerator to set.
  • Microwave the pumpkin for 5 mins at 600w. *I prepared the pumpkin by steaming it till soft, and mashed it up. 
  • Using a mixer, beat the cream cheese till soft. Add in the pumpkin, brown sugar, cinnamon, vanilla and whipping cream and blend well. Beat eggs and egg yolk, and add to blended mixture. Mix lightly. Do not over-mix.
  • Pour pumpkin mixture over set cracker base, and bake for 40-50mins till surface is light brown, and centre of cheesecake feels springy to the touch. 
  • Gently run a knife along the edge of cheesecake and leave to cool on a wire rack. Cover with cling wrap and refrigerate overnight.

Spider Web
The web is piped out using melted chocolate. I did a draft first, giving me the confidence to pipe onto the cake :)


Chocolate Spider
Place some dark chocolates in a bowl, and melt over a pot of boiling water. Once the chocolates are melted, add in Coco Crunch (from Nestle). Spoon everything into paper cups. Add in the legs, which are made using Chocolate Pocky sticks. Refrigerate to let it set.

the backside

The eyes are made using coffee beans chocolate, which I happen to have. You can easily substitute with M&M chocolates. They are stuck onto the spider, using cookie icing from Wilton. These bottles of cookie icing are very convenient. Simply put into the microwave to re-heat, and it's ready to use.

ta da... it's alive!
 
Wishing all a Happy Halloween!

Am submitting this for October event hosted by Hankerie

I'm hosting a Halloween Party with friends, and that gave me a good reason to whip up some halloween treats.

I was very pleased when I saw how the cookies looked, after moulding it into the shape I wanted.. haha doesn't this look like witches' fingers - slim and pointy?


But to my horror, it became like this after I baked it.


The size had doubled, and it has become monsters' fingers. Thankfully, it still fitted with the theme. My friends had lots of fun, using it to poke each other, or pretending to dig their nose. I'm truly amazed with the ideas they came up with to 'use' the fingers.

The recipe was taken from here. The video acted as a useful reference on shaping the fingers. Instead of yeast, I substituted it with baking powder... finds it weird to use yeast for cookies =P . Anyway, you can easily google for witches' fingers and find similar recipes online.

Since I wouldn't be posting the recipe,  here's sharing more pictures of the decor I've put up :)

mr skeleton - he's a friendly one :)

Trying to create the halloween look

haha... catch me if you can

bloody fingerprints

it's mine.. don't you dare take it away from me!


Am sharing this on October Event hosted by Hankerie