Looks simple enough?


It is... and you can have a lot of variations for the dish. You can use whatever noodles, vegetables or meat you like, and wa la... it's a whole new flavour. 

The most difficult part goes to making the dressing, a  small but crucial step in enhancing the taste of the soba. Mine turned out too watery and it didn't coat the noodles well... haha but nobody, except the cook herself could tell this is an area that needed improvement. Dear who tasted it loved it!

I actually got this recipe from the cooking lesson organized by Tangs. It's for their shoppers, and you need to spend over a certain amount, before you can sign up for it. I managed to go it for because I bought my KitchenAid there. Hmmm... but this will probably be my first and last time there. The things in the shop are beautiful, but all very very expensive for me!!

Recipe: (from Martin Yeo)

Ingredients

2 serving of soba noodles
1 pkt of salmon fillet
1/2 pkt of fresh mushroom (you can use any type that you like)
some pea sprout

* can also add in avocado, baby spinach leaves, asparagus and cherry tomatoes 

Dressing
2 tbsp grapeseed oil
2 tbsp soy sauce
2 tbsp unseasoned rice vinegar / lemon / lime juice (u can mix the juice too)
1 tbsp honey
1 tsp finely grated peeled fresh ginger

Method
  • Whisk together all the ingredients for the dressing. Set aside.
  • Meanwhile, heat vegetable oil in a medium pan. Sprinkle salmon with sea salt and pepper. Cook on low heat until browned but still deep pink in centre. Remove from pan.  *Chef Martin recommended using salmon fillet that has been skinned, but I was lazy and cooked the salmon with skin on. It is definitely better to take off the skin. Next time, I would also slice the salmon into smaller pieces. Mine was a bit thick. When the exterior was cooked, the interior of the fish still appeared a bit raw.
  • Heat up more oil in the pan. Saute the mushroom until all the moisture has evaporated, and the pan is dry. At this point, the mushroom should be deep golden and reddish-brown. 
  • Cook soba noodles in a pot of boiling water, until tender but still firm to bite, stirring occasionally. Drain and transfer to bowl of ice water to cool. Pour dressing over, and toss to coat. Top noodles with rest of the ingredients.
Useful tip picked up: If noodles appear to have dried up, simply add a bit of grapeseed oil, before tossing in the sauce. Trust me! It works. I use the same idea for my spaghetti too :)

this was cooked by chef.. see how well the noodles are coated... 
Here's my newest creation playing with dough -  a Milk Tea Bread :)

can you see the little specks? they are actually tea leaves

It's my first time trying the "17 hour low temperature" pre-ferment dough method to make bread, and I'm thankful to Honey Bee Sweets for the inspiration. When I visited her blog, and saw pictures of the many breads she has made, I told myself I have to give this method a try.

I quickly did a search to see if the book "天然麵包香" can be found in the library. This is a very popular book, and many of them are on loan... but lucky me still managed to find it at the library near my home *beams brightly*

I can connect to the author of the book, 獨角仙 who also started as a home baker. That struck a chord in me, because like her, I'm just a person who likes home-baked food. I like her adventurous spirit too - after watching a show on TV, she actually got her friends (also home bakers) together to make their own stone oven.  I don't know how they managed to figure it out. It just sounded so cool to me!

It is said that by proofing the dough at a low temperature for 17 hours, you will be able to get a chewy, moist and yeasty bread that have a longer shelf life.

Recipe: (yields 2 loaf;  I half the amount to make 1 loaf)

Pre-ferment dough
464g bread flour
265g water
13g fresh yeast (i use instant yeast; turned out fine)
7g sea salt
13g skim milk powder

Mix all the ingredients above together, and knead until soft. Cover the dough in cling wrap, and refrigerate to let it prove for 17 hours. Do use a bigger container to allow space for the dough to expand.

Dough
199g bread flour
27g skim milk powder
7g sea salt
80g sugar
80g egg
80g milk tea concentrate (made by infusing 20g Earl Grey tea leaves in 133g hot milk for 15 mins)
7g fresh yeast (i use instant yeast)
66g unsalted butter
13g ground Earl Grey tea leaves (i use red tea)


Method
  • Mix all ingredients for dough together, except butter. Add in pre-ferment dough piece by piece.
  • Knead after each addition till soft and smooth. Add in butter, and knead until window-pane stage.
  • Put dough in a bowl. Cover with cling wrap and let proof for 25-30 mins. *As majority of the dough has been proofed once under low temperature, the proofing time is greatly reduced.
  • Divide the dough into 6 equal portions. Flatten each portion with your hands to drive the air out. Shape into rounds/ square. Cover with cling wrap and let it rest for 20 mins. 
  • Flatten each dough to drive out the air. Roll the dough up, and put into bread tin. Cover with cling wrap, and let it proof for 40-45 min or until the dough reaches 80% of the tin. Bake in a pre-heated oven at 170 to 180 degree celsius for 30-35 mins.


I seem to have overbaked mine (see how dark the top is). Therefore, my bread tasted a bit hard on its side. It also didn't have any 'tea' smell/taste. Haiz... I was hoping to get off with it by using red tea.. but there's probably no substitution for Earl Grey if I want the fragrance.

Anyway, I'm going to give this method another go...  *must perserve on, don't give up!*

Here's ending off with a quote by 獨角仙
"做面包不能太隨意,也不需要太執著,要視乎季節,溫度,食材等等因素,根据自己的經驗調節, 跟發酵中的面糰溝通 ﹣說穿了,正是用心烹調之道." - when making bread, one shouldn't take it too easy, or be too stubborn. Depending on the weather, temperature, and ingredients used, one should also use his experience to make adjustment, and communicate with the dough - simply put,  one needs to bake with his heart.

This, I think is the secret to making good loaves :)

Am sharing this on YeastSpotting
While talking to my sister recently, she whipped out her iphone to show me a picture of a Halloween theme cake. Wow... I was swooned by it, and suggested we make it together. She gladly agreed and we spent half a day baking and decorating the cake, & bonding with each other  (err.. while waiting for the cake to bake/cool, we also ended up shopping online... haha that's the result of two ladies coming together =P )


The challenge for us, is in making the meringue ghosts. Luckily, we managed to get some ideas from  Joy of Baking. My sister did a really wonderful job in piping the meringue. However, the key ingredient needed is also patience. Meringue has to baked at very low heat, and ours took about 1.5hrs to to be ready.

I must admit that I've never taken a fancy for meringue. When I see them in shops, I always wonder who would buy them home. My impression of them is they are dry and just too sweet. While it's true that they are very sweet, freshly made meringue does taste very good - crispy on the outside, and soft inside. It's like a lighter, and not so sticky version of marshmallows.

scary or cute?

I didn't follow the initial recipe for the chocolate cake, but tried out the Moist Chocolate Cake from here.


Recipe for Meringue Ghosts

2 egg whites
100g caster sugar
*Makes about 24 small ghosts. The proportion for meringue is always 1 egg white to 50g sugar. 

Beat the egg whites till stiff. Pipe out the shape onto a lined baking tray. Bake at 110 degree celsius for 1 to 1.5hr depending on the size / height of your meringue.

Am submitting this for October event hosted by Hankerie.

I've been on a bread-making frenzy lately. Probably because I have been experincing success, and I now want to experiment with different types of flavour  :)

my beautiful loaf
This is specially made for my dear, who love all things with cheese.

look at the filling - bursting with flavor!

Recipe: (from 65℃ 湯種面包)

Ingredients
(A)
171g bread flour
45g cake flour
22g caster sugar
2g salt
4.5g instant yeast

(B)
63g water
34g egg
54g tangzhong

11g unsalted butter

(Filling)
diced ham, smoked cheese (i use shredded cheddar), black pepper

(Garnish)
salad dressing/mayonnaise, pizza topping

Method
Preparing the bread tin:
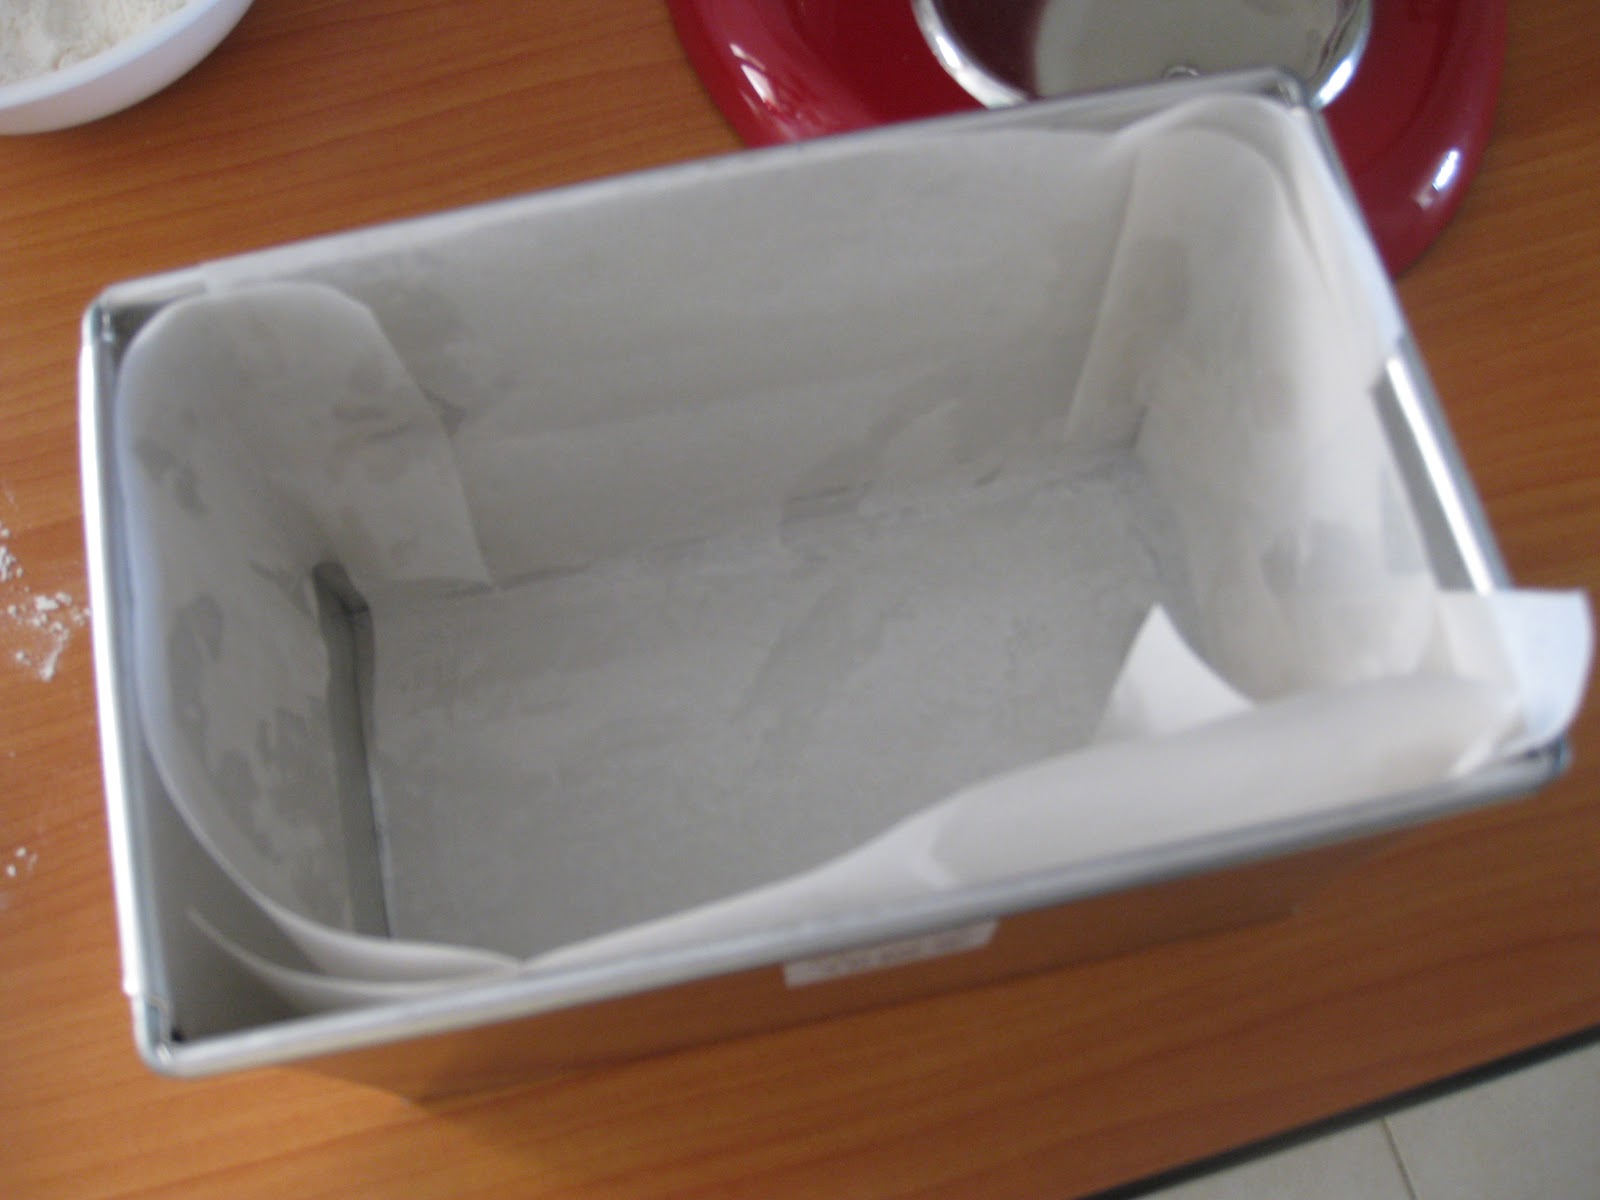
Tin must be lined with baking paper first. The author did not explain the rationale for so, but I guess it's to prevent the cheese from sticking to the pan when it has melted. It's easier to remove the bread from the tin this way :)

lining the tin with baking paper


Preparing the dough:


  • Combine (A) together and make a well in the center. Add in (B), and mix till a dough forms.
  • If kneading by machine: Turn up the speed of the machine, and let it knead till gluten has developed. Add in the butter, and continue to let the machine work the dough till it reaches the windowpane stage
  • If kneading by hand: Turn the dough out onto a floured surface and knead till gluten has developed. Then knead in the butter till incorporated; further knead the dough till it's elastic and has reached the windowpane stage.
  • Round the dough up and place it into a greased bowl. Cover and let it proof till it's doubled in size. (I took about 1 hour for this)
  • On a lightly floured working surface, deflate and divide the dough into three equal portions, with each weighing 120g (approximately). Round up and cover them to let rest for 15 minutes.
  • Shaping the dough: Flatten each of the dough (remember to punch out the air!) and roll out into an oval / rectangular shape with a lightly floured rolling pin. Put in the filling, and roll it up, like a swiss roll. Pinch ends to seal the dough tightly. Cut each dough into half and place into the bread tin for final proof.
  • Once the bread rises to about 70% full, top off with mayonnaise, and pizza topping.
  • Bake at 180℃ for 30 minutes or till the bread is golden brown and cooked through.
  • Remove from the oven and turn it out to cool on a wire rack. unmold the bread onto wire rack to let it cool completely. Slice to serve or store airtight once it's thoroughly cooled.
Tips:
  • The butter should not be added in too early, as it will affect the formation of gluten. 
  • Bread made using the tangzhong method is really very sticky. Don't worry, you are still on the right track. Just remember to flour your hands often. 
  • It is easier to peel off the baking paper from the bread after it has cooled down and the structure has set.
Bread-making is really fun! It's like playing with play-dough. You get your fingers all sticky and wet... but at the day of the day, you'll be surprised, and deeply satisfied with your creation, especially when you know there is no preservative or bread improver added to it. It's just wholesome goodness, fresh from your own kitchen.

Though I make my own bread now, I still missed my favourite bread from Creative Culinaire. They serve one of the best bread I've ever eaten, and their 3-coloured bread (made using spinach, beetroot and carrot) never fails to bring a smile to my face.

see how lovely the colours are
I'm definitely not able to re-create Creative Culinaire's signature bread. But hey... nothing's going to stop me from experimenting. As you may know, my previous attempt at making a carrot bread failed, so this time round, I decided to use a recipe that has yielded great results, and modified it to become the carrot bread.

yeah! successful this time
I had wanted to make it into a square loaf... but I went out of the house for brunch with friends, and by the time I got home, it ballooned up right to the brim. That's definitely a positive sign :)

it rose really high
beautiful sides

soft and light orange crumbs

I love the colour, and how soft the bread is! Wished I had made more as the bread was given to my relative who invited us to their house for dinner. Hmm... maybe it's time to get a 2nd loaf tin?


Carrot Bread (recipe modifed from here)

Ingredient
100g fresh milk
43g carrot juice*
35g egg (beat a whole egg first, before measuring out the quantity needed)
25g caster sugar
5g salt
250g bread flour
4g instant yeast
38g butter (unsalted)
25g shredded carrots (must be squeezed dry)

Method:

*Preparing the carrot juice:
I grated about 2 carrots. I then squeeze out the juice by hand, and measured out 43g to add to the bread. The carrot shreds are set aside to be added to the bread. <Advisable to wear an apron, for the juice is difficult to wash off if you get it onto your clothes >

Preparing the dough:
Recipe below is based on my experience using a KitchenAid mixer, but one can also knead the bread by hand. I used to make all my bread this way, before I got my 'bread making helper' :)
  • Place milk, carrot juice, egg, caster sugar, salt, bread flour and yeast into the mixing bowl. Turn the KA mixer to speed 1 to blend the ingredients together. You can use a dough hook to do this. 
  • Increase the speed to 2, and mix till the dough comes together, and gluten has developed. At this point, you can add in the butter. Beat on at speed 2. 
  • Once the butter has been mixed in with the dough, increase the speed to 4. Continue to let it beat for approx 20 mins, or when the dough reaches the window-pane stage.
  • Add in the shredded carrots, and mix on speed 1 to blend it into the dough.
  • Place the dough in an oiled bowl. Cover with cling wrap and and let it proof till doubled in size. This will take about 60 mins.
  • Remove dough and punch out the gas. Divide dough into 3 equal portions. Each dough is about 164-165 grams. Roll and shape into balls. Let the doughs rest and relax for 15 mins. *Dividing the dough into equal portions will ensure all 3 parts can rise to the same height during the 2nd proof
  • On a lightly floured surface, flatten the round dough and roll it out. The rolled dough will still be circular in shape. Take the dough from the top and fold it towards the centre. Pinch down the seams. Take the dough from the bottom and fold it towards the centre. Pinch down the seams. You would have a longish dough now. 
  • Flip over the dough, so that the side with the seams face the floured table.  Roll out into a longish shape. Then roll up the dough swiss-roll style. Do the same for the two remaining doughs.
  • Place doughs in lightly greased bread tin/pan. Let the doughs proof for the second time, until it fills up 80% of the tin/pan. 
  • Bake at pre-heated oven at 180deg C for 50 to 60mins. The bread is done when the sides are evenly browned.
  • Unmould the bread immediately when removed from the oven. Let cool completely before slicing.